Backside Adjustment

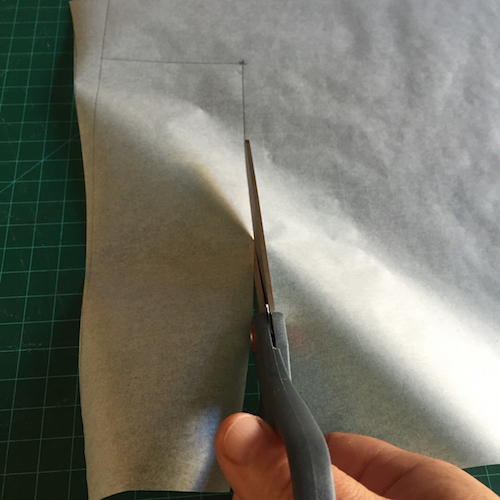
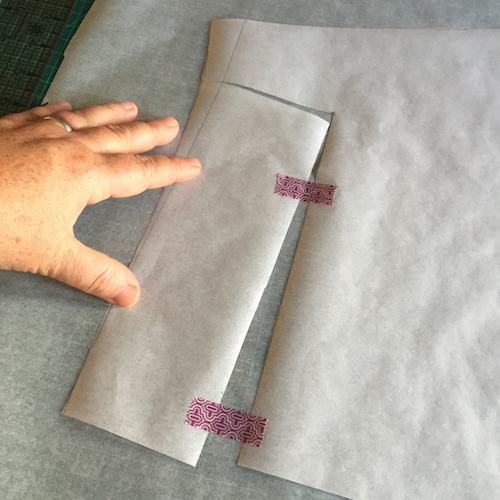
Use tracing paper over the nested skirt or back piece of pants pattern to make a single pattern in your size. Cut out the pattern.

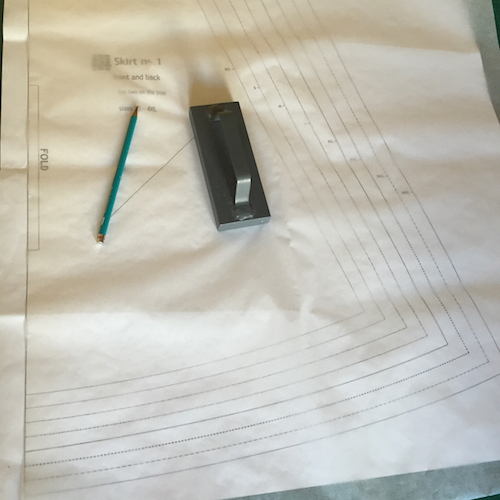
For modifying the skirt pattern, place a ruler so it is flush with the top left side, this will be the fold line. Draw a line across the top of the pattern (A).

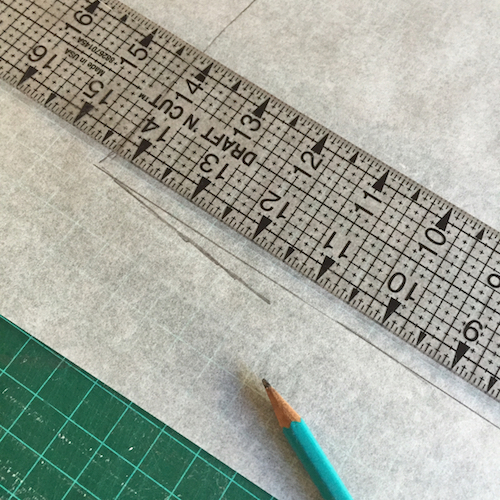
For the skirt pattern, position the pattern piece so the fold side is on the left. Next, using line A as a starting point, measure 3 inches (8 cm) down and make a mark. Then, measure 3 inches (8cm) in from the right hand side. Mark this point. For the skirt this will be the diagonal side seam edge. Use the ruler to draw a line across to the mark (B) and a second shorter one (C) up to the line A.

For the pants pattern, position the pattern piece so the curved side is on the left. Next, using the top of the pattern as a starting point, measure 3 inches (8 cm) down and make a mark. Then, measure 3 inches (8cm) in from the right hand side. Mark this point. For the pants this will be the straight side seam edge. Use the ruler to draw a line across to the mark (B) and a second shorter one (C) up to the top of the pattern.